
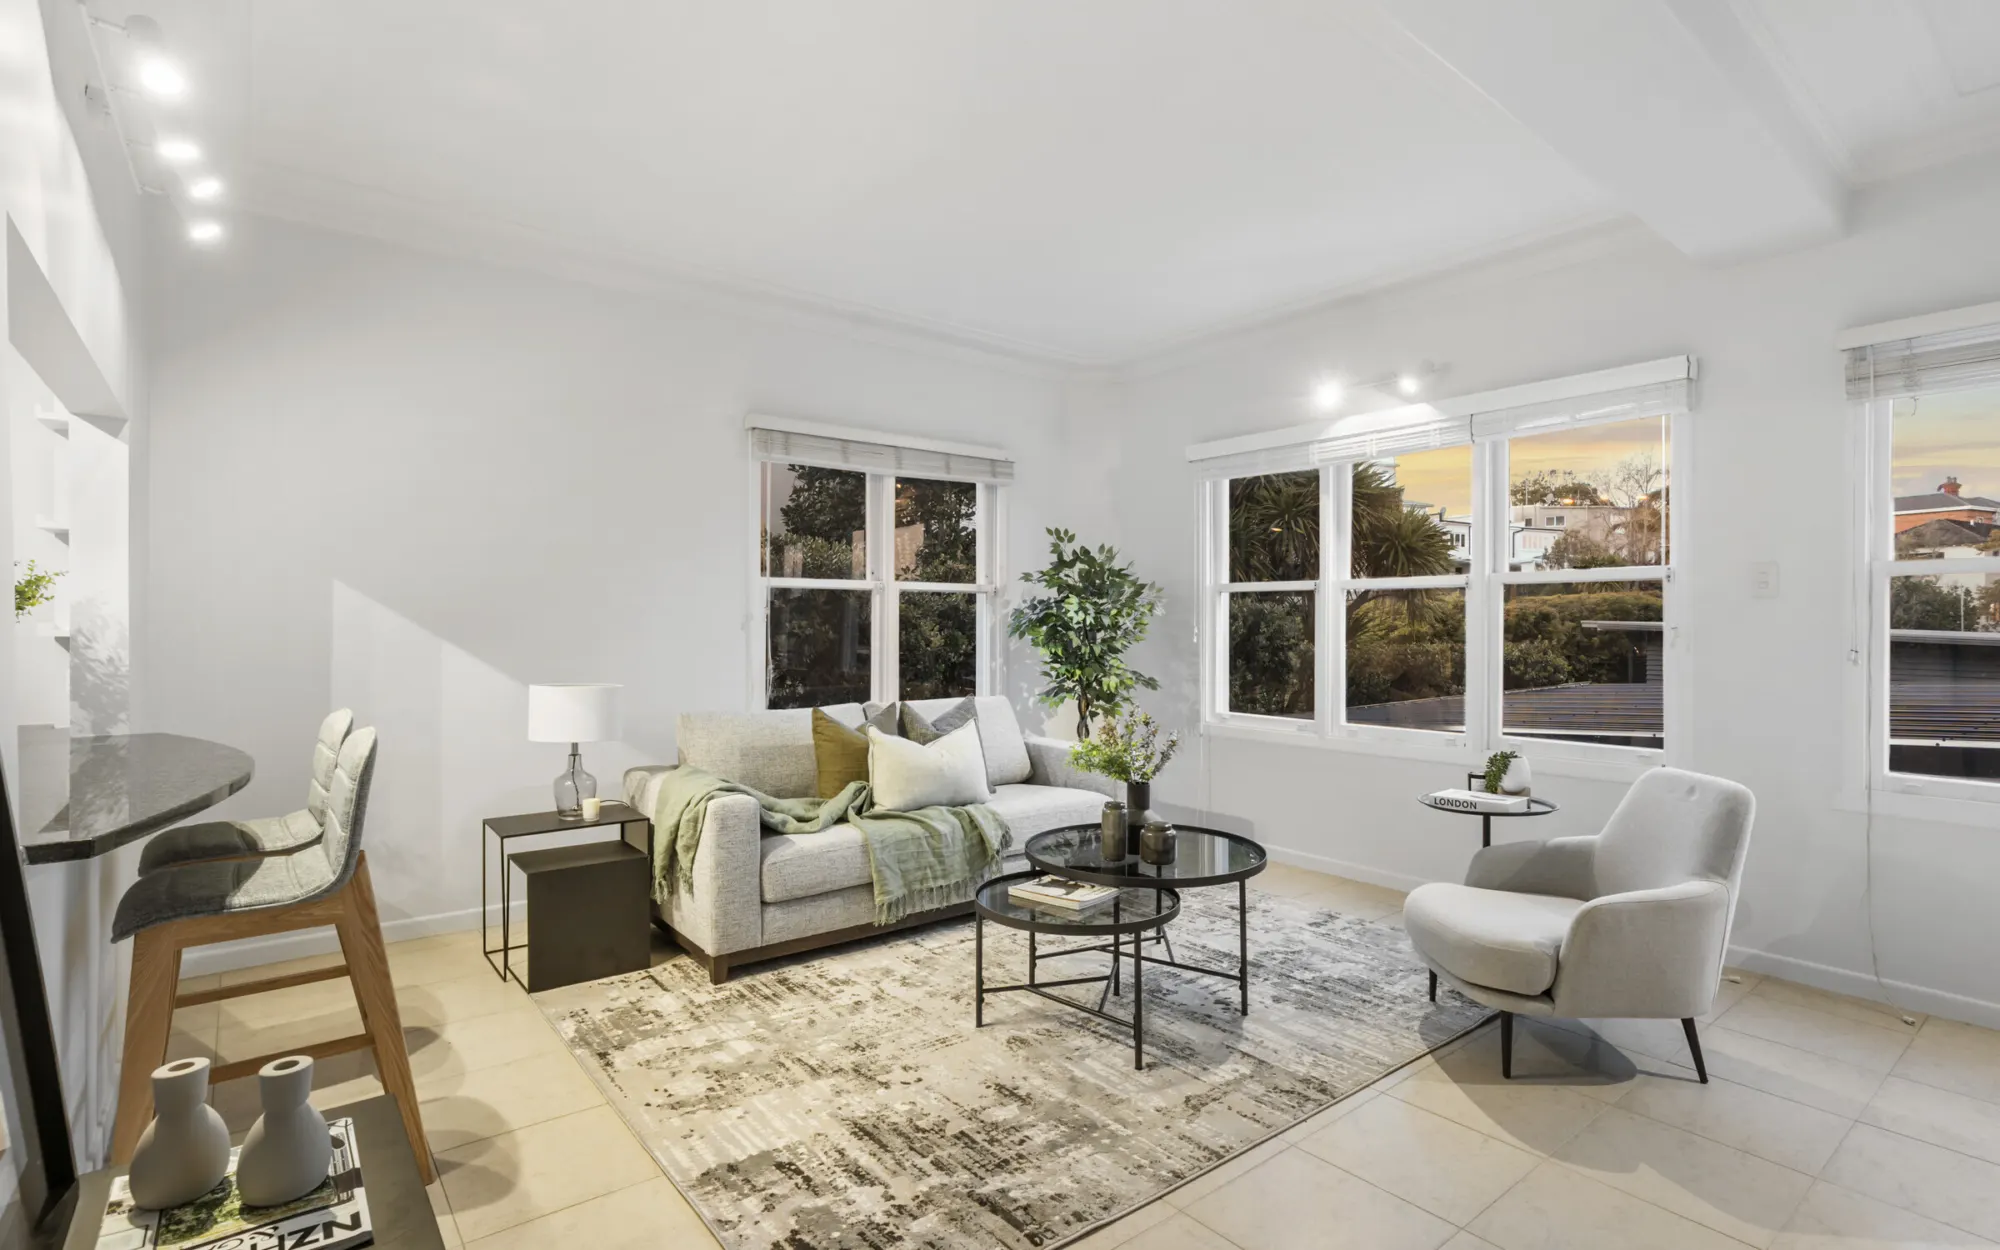
To prepare a North Shore home for staging and listing photography, work backwards from the photography date. Settle the room scope, decide what existing furniture will remain, finish repairs and cleaning, and give the staging team precise access details before installation.
Begin with one clear property brief
North Shore homes can include compact apartments, townhouses, established family homes and new developments. The useful starting point is not a generic furniture list. It is the actual property: its layout, existing pieces, access and the way the campaign is being sequenced.
Send the suburb, property type, current photographs, a floor plan or listing link if available, and the rooms you want reviewed. State whether the home will be vacant, occupied or partly furnished when staging is installed. Add the expected photography date and note any building, decorating, cleaning or moving work that is still underway.
Your first briefing checklist
- North Shore suburb and property type
- Vacant, occupied or partly furnished status
- Current room photographs and a floor plan if available
- Rooms to assess and furniture that must remain
- Working photography and listing dates
- Parking, loading, stairs, lifts, keys and building access
The published Spaces staging process uses this information to review the rooms, existing furniture, likely buyers, access and campaign requirements before a proposal is agreed. The proposal should then identify the service, room scope, hire period and project expectations for that property.
Choose the staging starting point before moving furniture
A vacant property may suit a complete stage. An occupied home may need a more selective edit, with some existing pieces retained and other furniture or styling layers added. If the answer is not obvious, photographs and a practical brief give Spaces a better basis for recommending the next step.
Create a finished handover
Confirm when rooms will be empty, clean and free of trade work. The agreed delivery path, keys and power should be available before installation begins.
Decide what will stay
Identify furniture that must remain, pieces that can move and rooms that need the most help. Keep daily household needs visible in the brief.
Avoid shifting every item or buying pieces before the scope is settled. An existing sofa, dining table or rug may be in good condition but still be the wrong scale or orientation for the room. The practical question is whether it supports proportion, circulation and a clear view of the property.
Review the rooms through the camera’s path
Listing photography turns connected rooms into a sequence of frames. Walk from the entrance through the main living spaces and note where excess furniture narrows a path, where several objects compete for attention, or where a room’s purpose is difficult to read. Open-plan areas should have distinct living and dining zones without blocking the strongest sightlines.
In compact rooms, scale matters more than quantity. Keep enough furniture to explain use, then protect breathing space around it. In larger family areas, check that separate zones still feel connected. The Spaces portfolio shows examples of staged living, dining and open-plan arrangements that can help you discuss proportion and flow without assuming that another property’s exact scheme will fit yours.
- Remove loose items that make the entrance or main path feel busy.
- Check that living-room furniture leaves an obvious circulation route.
- Orient dining furniture around doors, windows and adjoining spaces.
- Clear kitchen benches and finish work that could create dust or disruption.
- Give artwork and accessories enough space to act as a single focal point.
- Keep outdoor furniture clear of the route between the home and deck or courtyard.
Finish the property before staging arrives
Staging should be installed in finished rooms. Complete the agreed decorating, repairs, rubbish removal and clean first. Remove the furniture and household items identified in the plan, and make sure floors and access routes are clear for the team.
This protects both the furniture and the campaign sequence. If cleaners, trades, movers and the staging team need the same space at once, each handover becomes harder to control. The guide to booking staging before photography explains how to work backwards from the camera appointment and keep those jobs in a useful order.
Confirm North Shore access in practical detail
Access affects the delivery plan, so replace broad notes such as “easy parking” with details the team can use. Confirm where a vehicle can stop, whether a loading area needs to be booked, how keys will be collected, and whether furniture must travel through stairs, a lift, a narrow entrance or a long path.
For an apartment or managed building, record the lift and loading arrangements supplied for that building. For a townhouse or family home, identify the safest entry and any level changes between parking and the rooms being staged. These are not reasons to assume a fixed installation time. They are facts Spaces needs before confirming the property-specific plan.
Keep the final check separate from photography
Once staging is installed, pause and review the home as a whole. Check the entrance, room-to-room paths, the relationship between living and dining areas, and whether anything added after installation has interrupted the agreed presentation. Share any campaign-date change before the photographer arrives.
A practical buffer between installation and photography can leave room to resolve a key, access or room adjustment, but the exact timing belongs in the project plan. Do not assume a standard lead time or installation window. Use the real campaign dates and ask Spaces to confirm what is workable for the scope.
Use one final pre-photography check
- Rooms: The agreed spaces are clean, complete and free of trade work.
- Furniture: Items marked to move are gone and retained pieces are in the agreed rooms.
- Access: Parking, loading, keys, stairs and lifts are confirmed.
- Services: Power is available and the property can be entered safely.
- Campaign: The agent, staging team and photographer have the same working dates.
- Presentation: Main paths, sightlines and room purposes are easy to read.
Turn the checklist into a North Shore staging plan
The checklist gives you a clean handover, but the furniture, rooms and timing still need to fit the particular home. Review the North Shore home-staging service, then send Spaces the property brief with current photographs, access notes and the working photography date. The team can assess the scope and confirm the next practical step.