
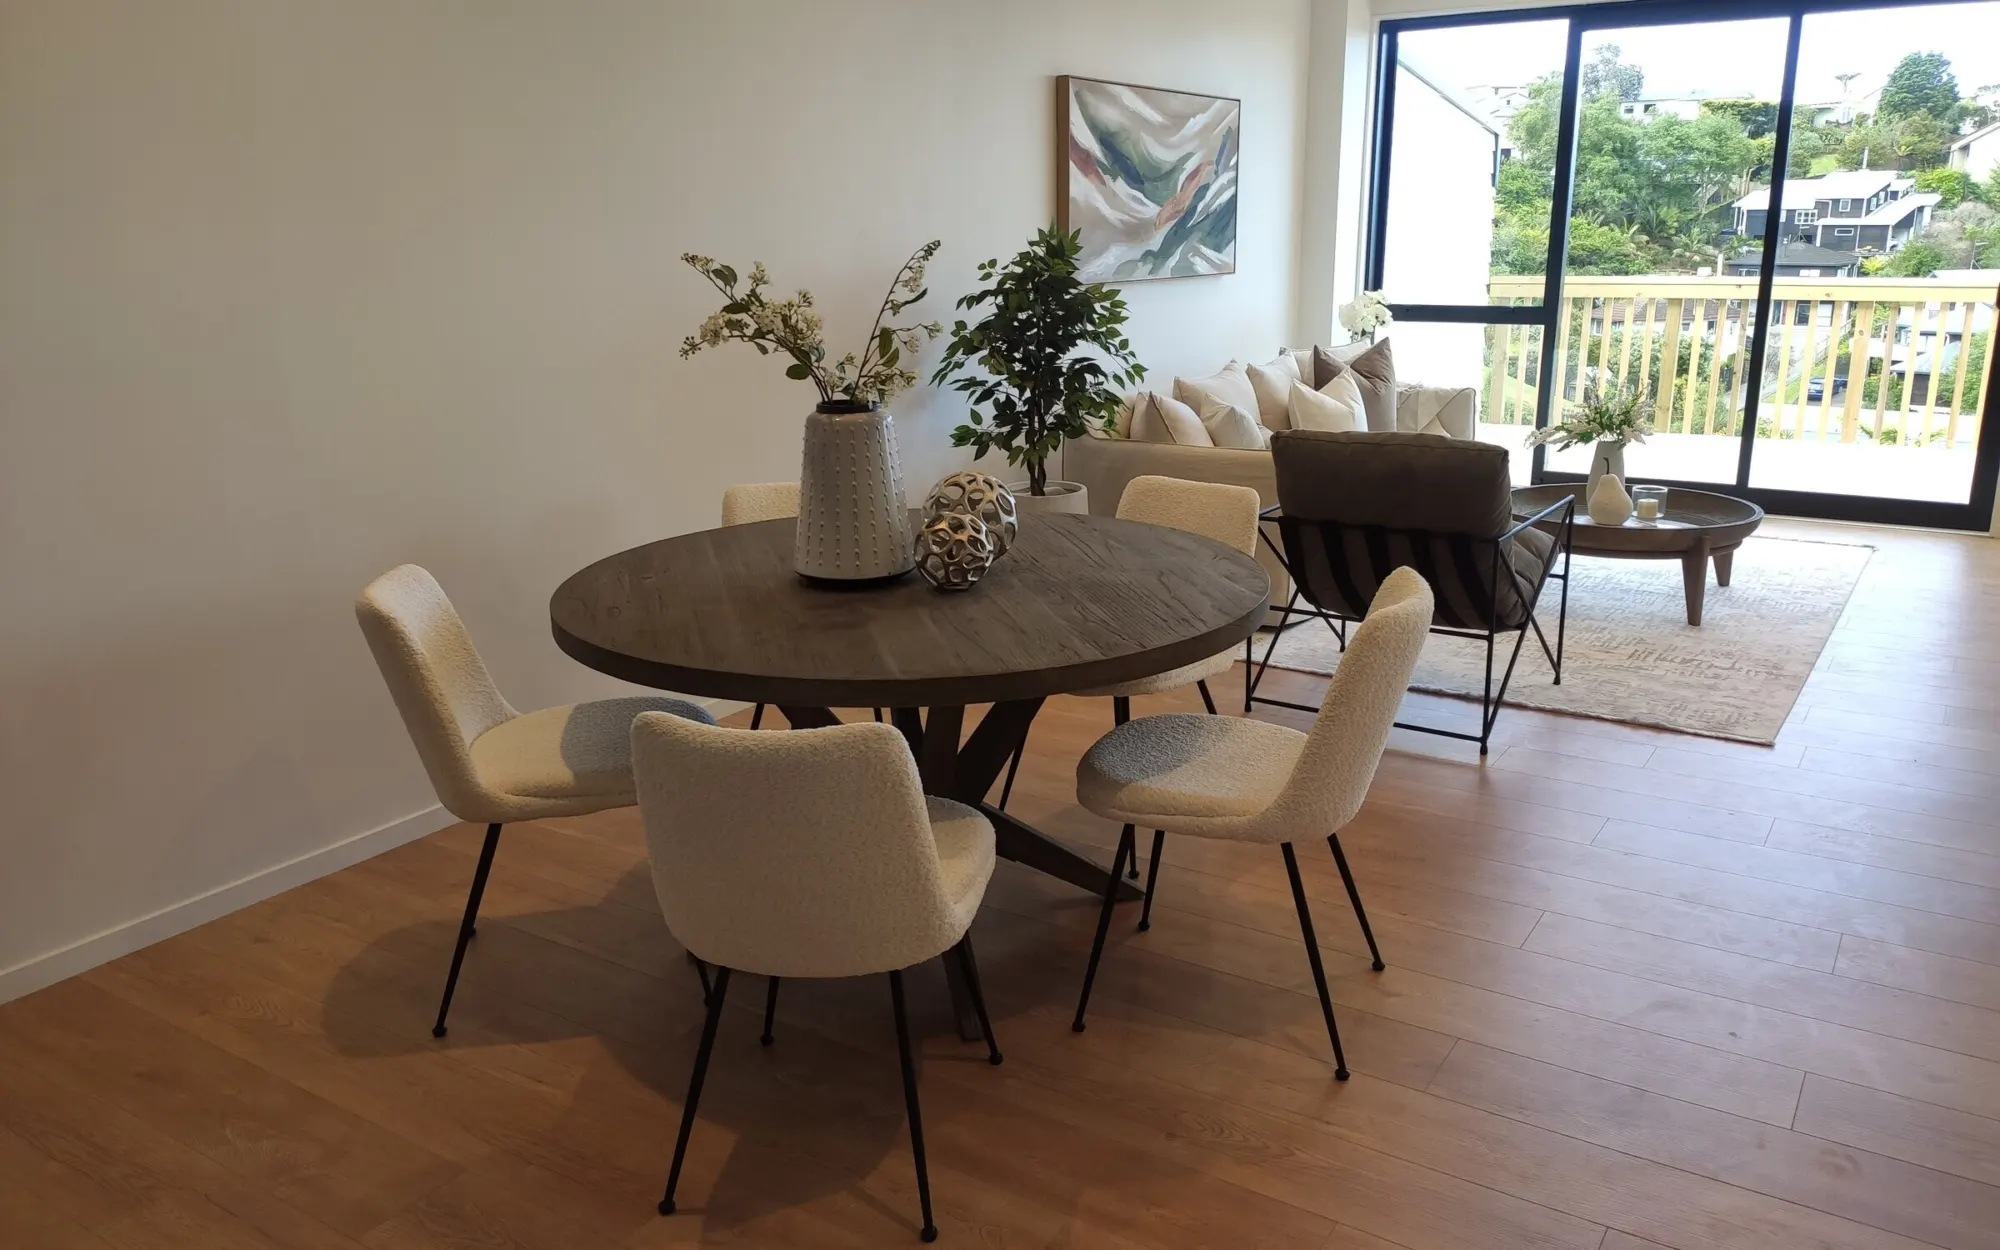
To stage an Auckland apartment without making it feel crowded, use fewer pieces at the right scale, give each area a clear purpose and protect the main walking route. The aim is not to make the rooms look empty. It is to help buyers understand the space without furniture interrupting its strongest features.
Begin with the route through the apartment
Compact rooms need to work hard, so start with movement rather than decoration. Walk from the entrance towards the main living area and note the doors, windows and connections between spaces. A buyer should be able to see where to go and what each area is for without navigating around an unnecessary chair, table or storage piece.
The Spaces guidance for apartments and other North Shore properties puts proportion and everyday flow at the centre of the plan. In an open-plan area, that means keeping the path between the kitchen, dining setting and living zone legible. In a bedroom, it means showing the bed and usable access without filling every free wall.
First layout check
- Where is the natural path from the entrance to the main rooms?
- Which doors, windows or outlooks should remain easy to see?
- Does every major piece explain the room or interrupt it?
- Can the living and dining zones be understood at a glance?
- What will the camera see from the likely listing-photo positions?
Choose full or partial staging from what is already there
A vacant apartment may benefit from full home staging because an empty open-plan room can leave its dining, living and circulation areas undefined. A complete scheme can coordinate furniture, art, rugs, lighting and accessories across the agreed rooms while keeping the property consistent.
An occupied or partly furnished apartment may suit partial home staging. Begin with an honest review of the existing pieces. Keep furniture that supports the scale, condition and presentation of the room. Reposition or remove anything that blocks a walkway, competes with a useful sightline or forces the layout around a piece that is too large.
Do not assume partial staging means adding a little furniture everywhere. The published Spaces process is to edit before adding, then fill the real gaps. One appropriately scaled table, rug, artwork or seating piece can provide structure without asking the apartment to hold a complete second layer of furniture.
Make open-plan zones distinct, not disconnected
Many apartments place dining and living functions in one shared area. Treat them as related zones rather than two separate rooms. Each needs a clear purpose, but the furniture should still allow the eye and the walking route to move through the whole space.
Test the dining table against the room’s doors, windows and main route. The Auckland seller checklist recommends checking both scale and orientation, because a table can fit physically while still narrowing movement. In the living area, use the seating and rug to establish a coherent group without turning the back of a large piece into a barrier across the room.
Use enough furniture to show proportion
Removing everything is not the same as making a room feel generous. Buyers still need context for how living, dining and bedroom areas can work. The stronger approach is to use enough furniture to explain the room while leaving visible space around the key pieces.
Review the sofa in relation to the living area, the table in relation to the dining zone and the bed in relation to its access. A piece can be attractive and still be the wrong scale. If several small items fragment the room, compare them with one better-scaled element that gives the area a clearer anchor.
Keep circulation practical too. Chairs need to sit within the dining area rather than spill into the main route. Side tables and decorative stands should not create an obstacle between the entrance and the apartment’s strongest living feature. These decisions are property-specific, so photographs and a floor plan are useful inputs when the layout is being assessed.
Reduce visual competition
Compact rooms can become busy before they become full. Review art, rugs, cushions, lighting and accessories as part of one composition. The seller checklist recommends giving artwork breathing space and removing decorative pieces when several focal points compete in the same area.
Clear loose items from kitchen benches and open shelving so the room’s surfaces and connection to the living zone remain visible. Keep accessories that reinforce the intended area rather than drawing attention away from it. A restrained finishing layer can still add warmth and cohesion without placing an object on every surface.
Check the apartment as a sequence of photographs
Once the furniture is placed, look again from the entrance, the corners of the main living area and the connections between rooms. The full-staging and partial-staging guidance both treat photography as part of the layout decision. Check whether the camera will see clear room use, natural movement and a consistent visual direction.
Then remove any temporary storage, finish cleaning and keep repair or trade work separate from the prepared rooms. Our Auckland seller staging checklist provides a practical room-by-room review for this final preparation stage.
Include apartment access in the brief
Apartment staging also has practical access questions. Share the property location, whether there are stairs or lifts, the relevant parking or loading details, the occupancy state and the working photography date. These facts help the staging team assess the real property and campaign rather than treating every compact home as the same.
You can see examples of open-plan and compact-room presentation in the Spaces portfolio. When you are ready for a property-specific plan, request a free project quote and include current photographs, a floor plan if available, the furniture that must remain and the rooms you want reviewed.